
Hi, creative souls! If you are a big up'cycler - this one is for you! From a recycled aluminum can is born a beautiful "braided" vase.

- Tin can
- Oven bake clay, multiple colors
- Clay knife
- Silicon clay mat
STEP 1: PREP & ORGANIZE
First, you’ll want to prep your clay. You are going to need to roll out 6 inch strips of clay.
BEFORE >>>> AFTER


STEP 2: CREATE "BRAIDS"
You thought this was really braided, didn’t you? Turns out it’s much easier, and all we have to do is twist. You’ll want to twist one piece up, and then one piece down, so that when you lay them together, the twists face in towards each other and give the illusion of a braid.

STEP 3: BUILD YOUR PATTERN
Continue to lay out your twists and build your pattern.

STEP 4: ATTACH YOUR BRAIDS
Once it looks like you have enough, carefully pick up your braids, and attach to the side of your tin can. Pinch off the top and bottom. Don’t worry about the pinch being uneven, because we’re going to flatten the edges a bit anyway to make room for a roll to go over the top.

All the way around:

STEP 5: Finish off the edges
Roll out another clay strip of the color of your choosing, and attach at the top and bottom.

STEP 6: BAKE ‘ER UP!
Bake according to clay instructions.
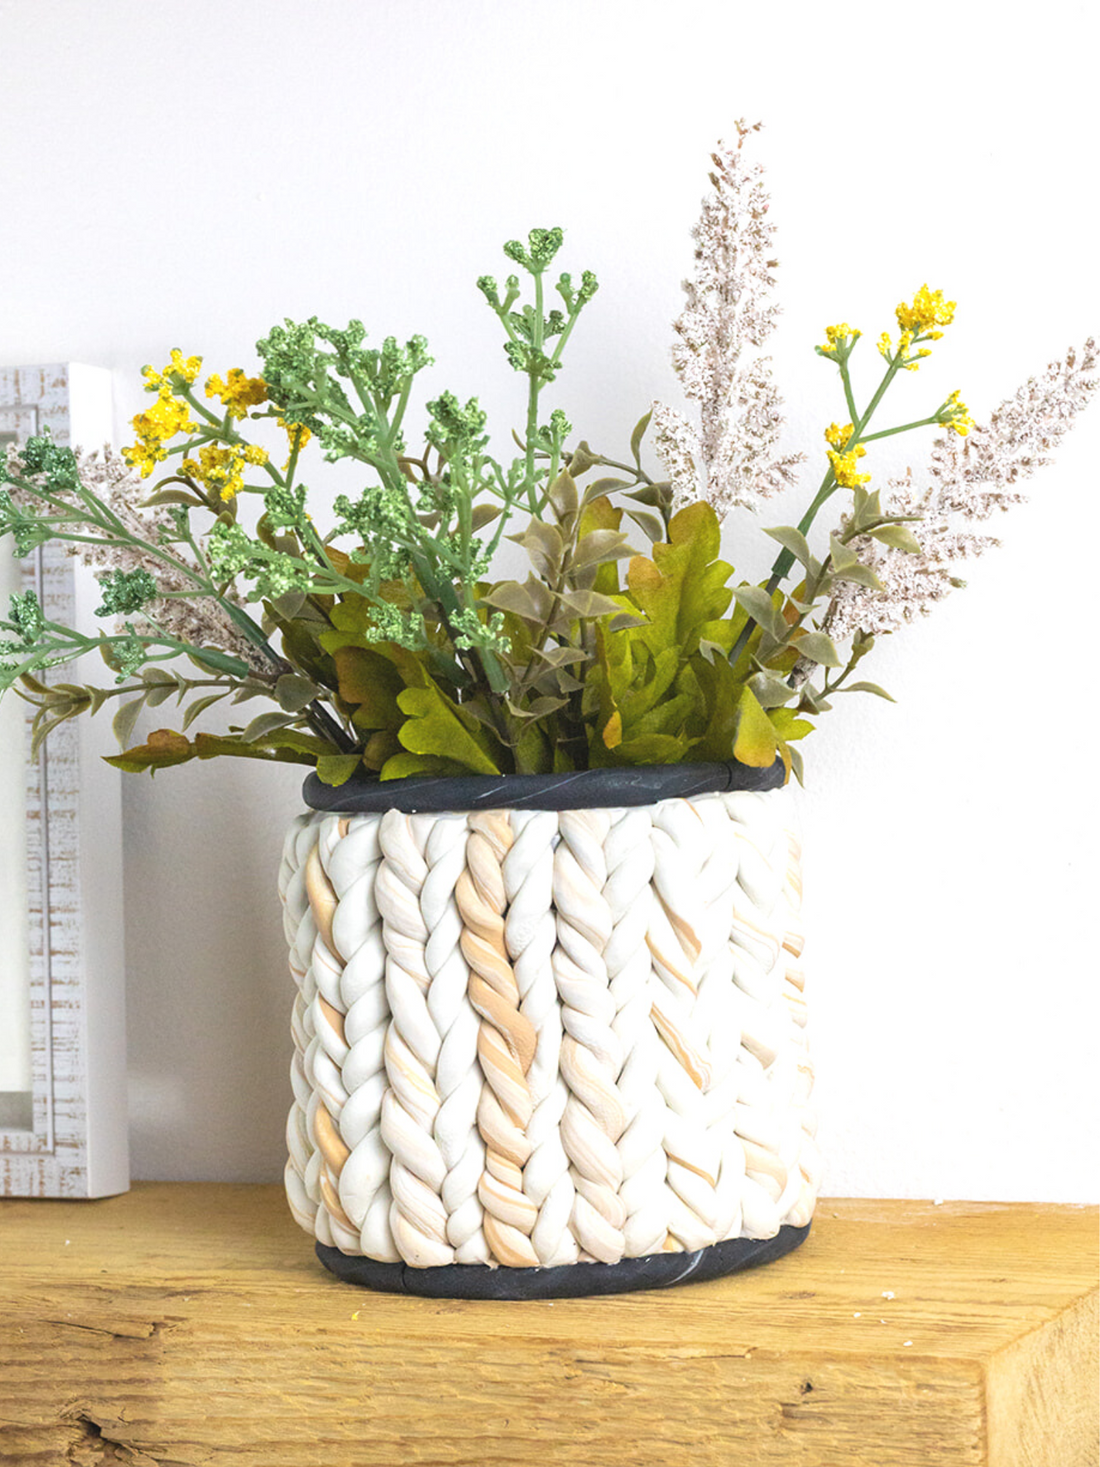
STEP 7: ADMIRE YOUR WORK, YOU CREATIVE GENIUS!
Once cool, remove your bowls from the oven safe bowls, and admire your work. Oooh. Aaaah. Don’t criticize your work. It’s perfectly imperfect. Love it, cherish it. Now, take a picture, upload to instagram, and hashtag it with #papercloudsescape

You can test out different colors, too!
